


Video auditions are becoming more and more standard in the singing world. College pre-screen auditions, vocal competitions, and even professional theatre and classical auditions are using this format, but many singers do not know how to show themselves off to their best advantage in this medium. There are a lot of components that go into a polished and professional video audition, and for national singing competitions, college auditions, and scholarship competitions, the talent pool is deep, so you want to present yourself in the best possible light. Here are some guidelines to bear in mind.
Accompaniment: Live or Pre-recorded?
- Accompanists are vital to the singer’s work and artistry! We love our collaborative pianists, so whenever possible, recording with a live pianist is always preferred. However, as of the writing of this piece, many of us are dealing with “shelter in place” orders due to Covid-19, so unless you have a fabulous pianist in your house already, you may not be able to record your next audition video with a live pianist.
- The next best thing? Contact your favorite pianist, and hire them to record the accompaniment of your pieces for you; they can send you MP3s via email, and you can video your audition with these recordings. This is also a great option when you need to record specific audition cuts.
- If you don’t have access to a live pianist who can send you recordings, you can use pre-made accompaniment tracks. You can find tracks on subscription apps such as Appcompanist, or you may be able to find free tracks on Spotify or YouTube. The advantage to using Appcompanist is that you can adjust tempos, add fermatas, change the key, and otherwise customize your accompaniment to a certain extent. With the tracks on Spotify and YouTube, you will need to sing to the tempo and key provided, but that may work for your needs.
- There are advantages to doing video auditions with pre-recorded accompaniment. You can do multiple takes, and even space your recordings over several days, allowing you to choose your best work without fear of running out of rehearsal time or not being in the best voice on recording day.
Equipment: What Tools Do I Need?
- Today’s smartphones, tablets, and laptops all have excellent video recorders, so you probably already have the right tools for your video audition. Video cameras are also great choices. You might try to film your audition on more than one device and see which one gives you the best audio and video quality.
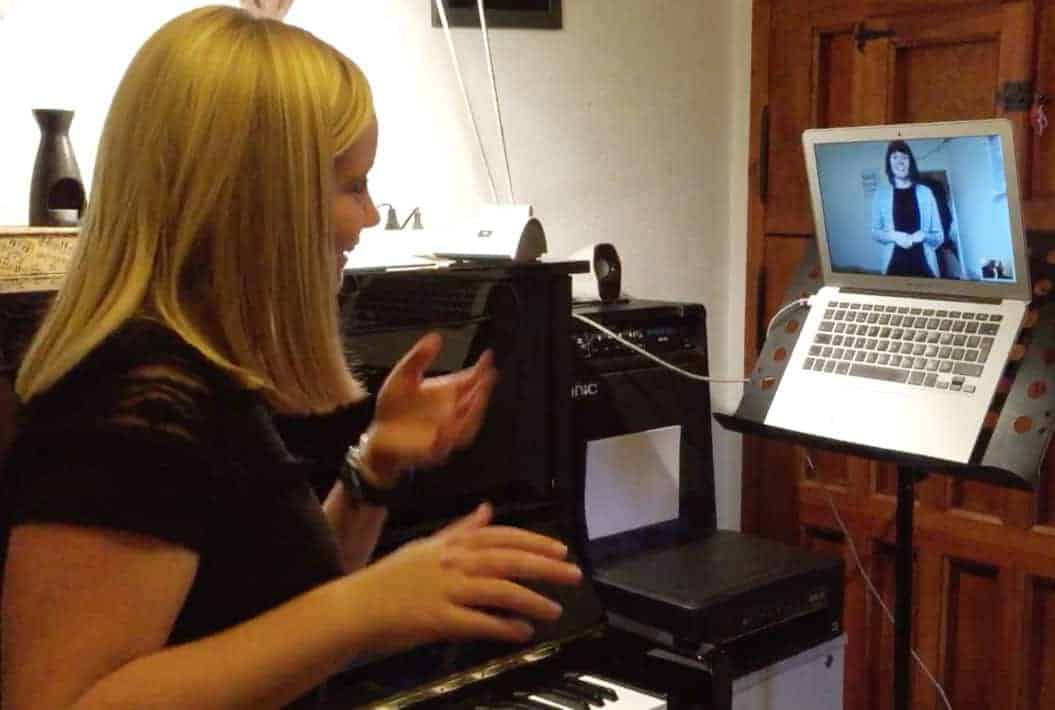
- You will also need some kind of playback device separate from your video source. If you are filming on your laptop, for example, you can use your phone to play the accompaniment.
- An external bluetooth speaker can also enhance the quality and volume of your accompaniment playback.

Audio Considerations
- Make sure that there is an appropriate balance between the accompaniment and the voice. We want to be able to hear the accompaniment, but it shouldn’t drown out the singer either.
- Work for a clear sound with no feedback or interference. You may need to adjust how close you and/or the bluetooth speaker are from the video camera.
Video Quality
- Avoid handheld camera work. Make sure that video is in focus, never shaky, and free of light flares.
- Play with the angle of the video camera. You may need to prop the video source up on some books or a piece of furniture to get the best angle.
Location: Where Should I Film My Video Audition?
- Find a space with good acoustics. Wooden floors can provide nice sound, but see what works for you.
- Avoid echoey spots like bathrooms or basements.
- If you are not stuck at home, choral rooms, theatres, and classrooms can also be good locations for audition videos.
Background: What Should Be Behind Me?
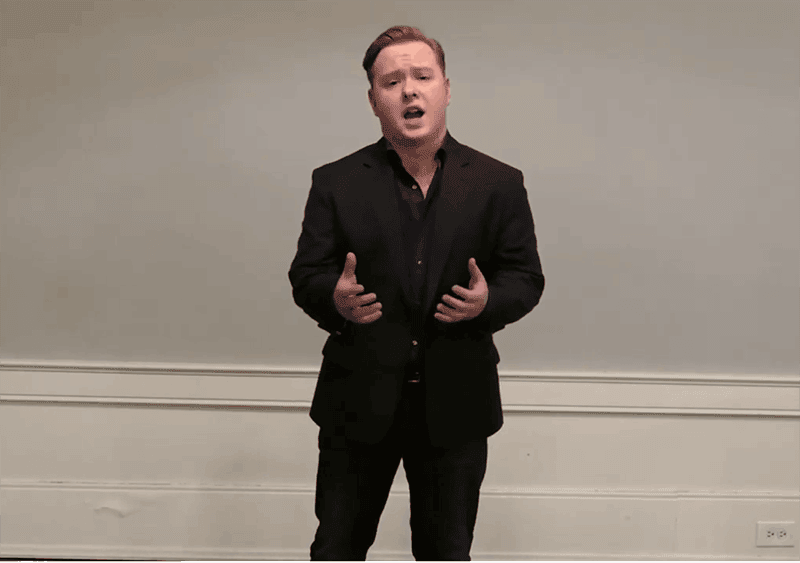
- A plain wall works well. If there is artwork, make sure it doesn’t give off any glare on the video, and less is more when it comes to patterns. A neat bookcase can also work.
- Some people hang fabric on the wall or on a curtain rod. This can be a good choice, but if you do use fabric, make sure that it is ironed. Also, if your fabric is hung up on a rod, make sure that your shot is tight enough that we don’t see anything outside of the curtain.
- You want to be the star of your video, so you don’t want your background to be too busy or distracting.
Portrait vs. Landscape: How Should I Shoot My Video?
- Landscape is always better! It gives you room to move and gesture without moving out of frame. Keep the visible recording area neat and simple.
Framing: How Tight Should My Shot Be?
- If you are given audition guidelines with regards to framing (full body, three-quarter, etc…), you should definitely obey them, but keep the shot as tight as possible within those parameters. We want to be able to see your face.
- If the piano must be in the shot due to audition rules, again aim for the tightest shot possible.
Lighting Issues
- Make sure that we see your face clearly, no shadow, but make sure you are not overexposed or pale either.
- Have a window in front of you (if it is daytime) or use one or more lamps in front of you to help light the shot.
Repertoire Choices
- When choosing audition songs, simpler repertoire sung cleanly and expressively is better than difficult songs that are sung with inaccuracies or pitch issues. The auditors know that you can re-record, so they expect your audition video to be a very precise take.
- You should only sing audition songs that are well-prepared and that show you off to your best vocal and expressive advantage. Intonation is important, too!
Audition Cuts
- If you need to present an audition cut, stick to the given time limits.
- Give yourself one or two measures of a piano intro before you start singing. This gives you time to take a good breath, feel the tempo of the song, and start the piece in character.
- Make sure your cut has a journey in terms of acting and volume.
- Vary your dynamics throughout. Do not sing forte for your entire cut! This does not show us enough variety of vocal color. This is especially true of musical theatre belt songs. Do not belt your whole cut!
- Be especially meticulous with intonation in an audition cut. For college MT auditions, you are often asked for a one-minute cut; if you cannot sing in tune for a one-minute cut, you will probably not advance for more competitive programs.
Titles vs. Slating
- Obey the audition guidelines as to whether or not to use titles for your video audition. After filming, you can add titles that give your name and your piece.
- The other option is for the singer to “slate”, which means verbally stating their name and the title of their piece(s) at the beginning of the video.
- You can slate directly into your piece, or you can record the slate separately and then edit it to come before the recording of the actual song.
- Titles look clean, but in my opinion, slating shows us a little of your personality. I definitely prefer slating for college pre-screens, as I like to know how a singer pronounces their name, and I get some sense of the singer’s demeanor and speaking voice.
Eye contact
- Keep your gaze just above the camera lens. You don’t have to keep your eye focus straight ahead the whole time, but stay on that plane.
- Avoid turning profile or three quarter in your video. When we can’t see your eyes, we lose so much of your performance.
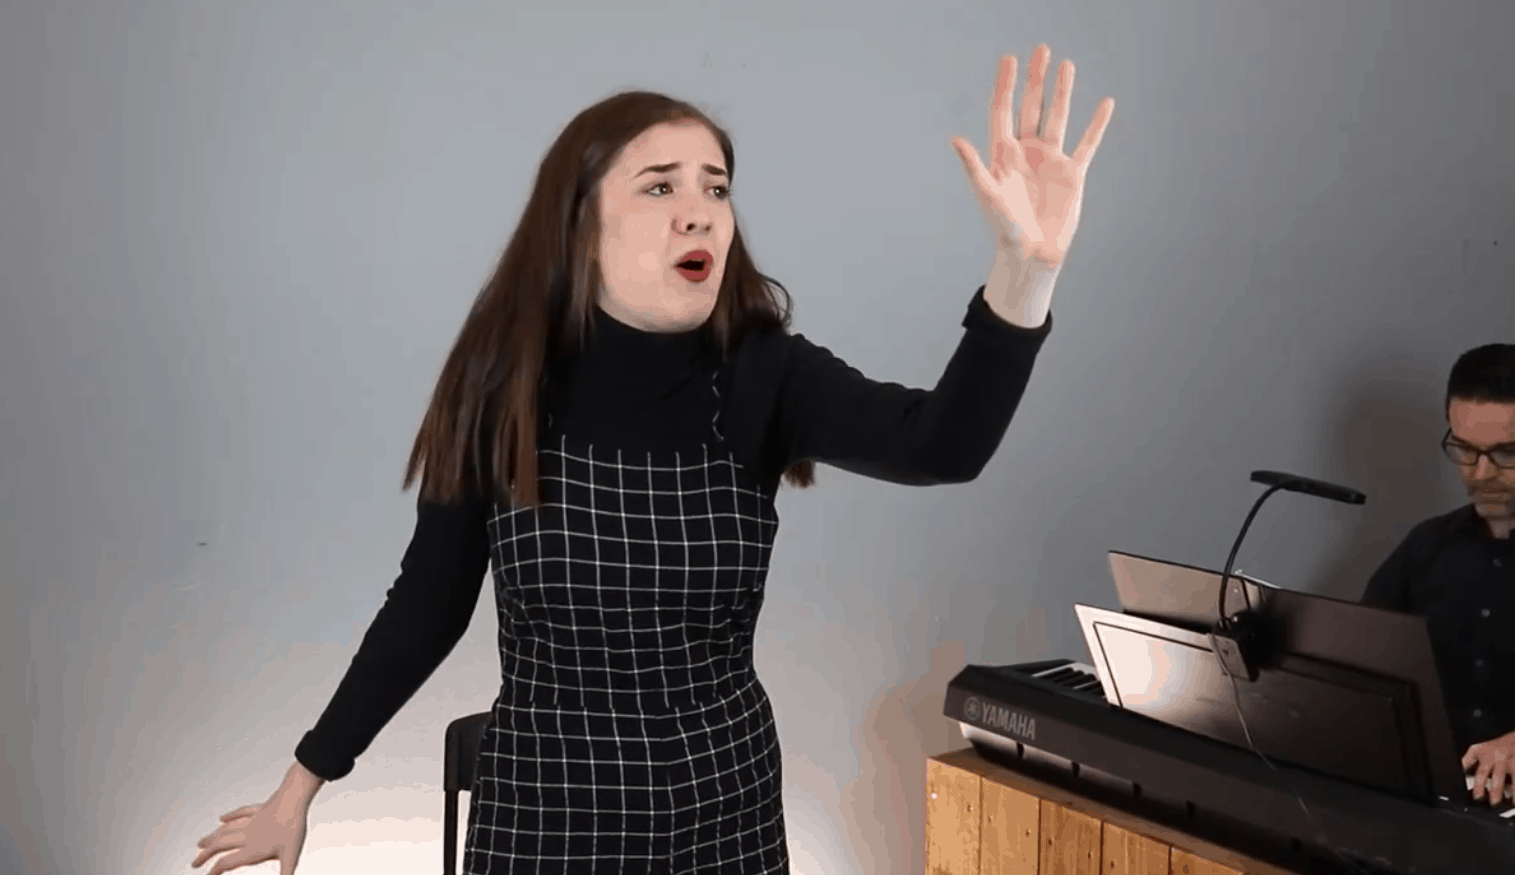
Acting counts!
- Give your song a journey, and let us see you connect to the text. Your song should not start and end in the same emotional place. Find an arc to the story.
- There are a lot of people with pretty voices out there, but if you truly connect to the songs as you sing them, you bring a piece of yourself to the music. When you draw the viewer in, your audition is much more compelling and memorable.
Clothing
- Choose colors that flatter your skin tone. Avoid busy patterns.
- Make sure that your clothes fit you well; outfits that lightly skim the body are usually the most flattering.
- Don’t match your clothes to your backdrop! I can’t tell you how many videos I see of singers wearing all black and standing in front of a black curtain. This makes you look like a floating head(unless you have excellent lighting)!
- Keep hair neat and out of your face.
- If you wear makeup, keep it clean and simple.
Have an eye and ear for detail.
- Watch your video! Have someone you trust watch it, too. Is there anything that bothers you? How is the lighting, the balance, intonation, etc…?
- Consider doing trial runs of your audition recordings way in advance of the due date so that you can record on multiple days to get the best takes.
- You can always re-record, so your final product should reflect you at your best. At the end of the day, you should be proud of your video submission.
I know this seems like a lot of factors to keep in mind, but after a little experimentation and some trial and error, you will learn what works for you, and audition videos will be a breeze!
